It’s every paddler’s dream to have a kayak durable enough to show no signs of wear and tear – even after years of gliding through water.
But let’s be realistic:
You can’t expect to put a kayak through its paces without leaving a mark on its hull. It doesn’t matter how durable it is; a well-used kayak will inevitably develop a scratch or two over the years.
Can the solution to a good-looking – and long-lasting – hull be as simple as using kayak wax?
Yes – and I’ll show you exactly how to wax a kayak – in order to clean and protect your ‘yak – in this guide!
We may receive a commission if you click a link on this page and then go on to purchase something, but at no extra cost to you. Learn more here.
Kayak Maintenance 101: Should You Wax A Kayak?
Should you clean and protect your ‘yak? Well, technically speaking, yes – waxing a kayak is generally a good idea from the maintenance standpoint. Every kayak needs a little TLC to ensure longevity and keep the kayak hull as good-looking as possible for years to come.
But there’s more to it than that:
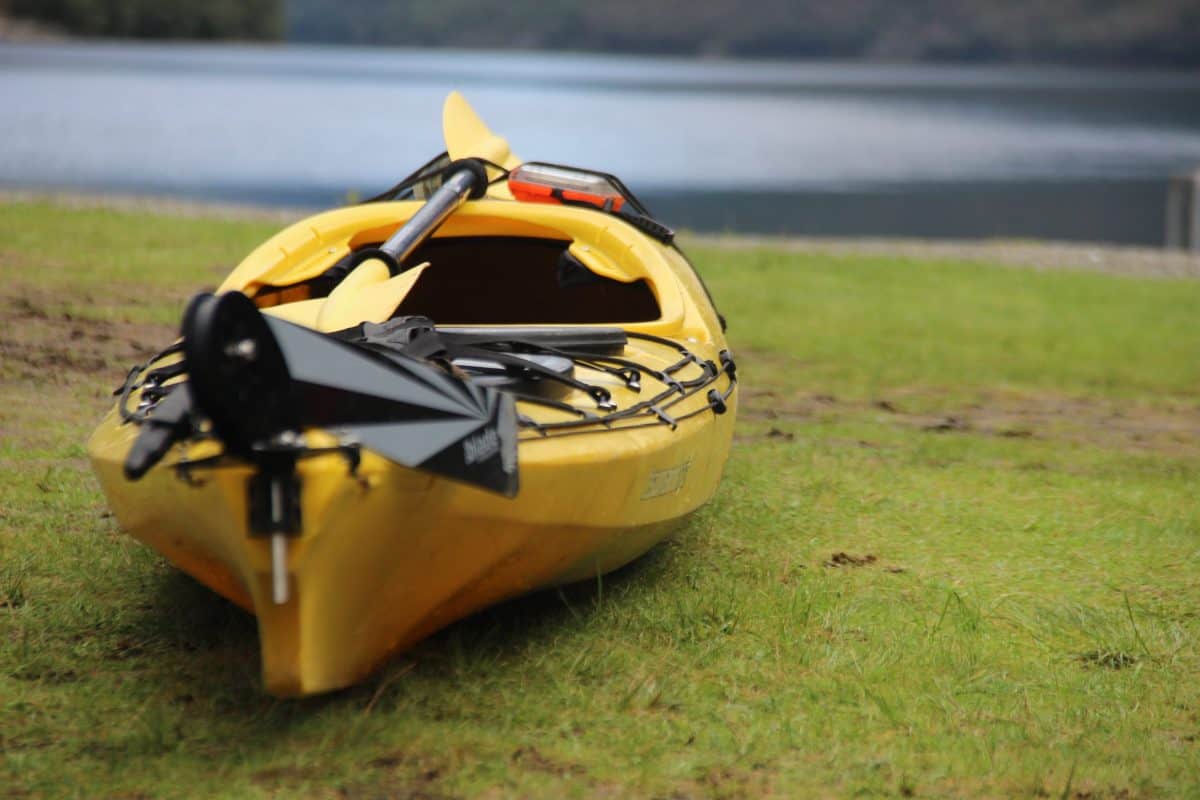
Using kayak wax on inflatable or polyethylene hulls isn’t always necessary – and can be a waste of time depending on what you’re hoping to achieve.
For one, you’ll have a hard time getting wax to stick to a polyethylene hull. What’s more, the most talked-about benefit of waxing a kayak – creating a smoother surface that promises less resistance and an increase in speed – might not be achievable.
That said, a plastic kayak, such as polyethylene and inflatable kayaks, can still benefit from the protective coating added during the kayak waxing process. Considering how sensitive plastic is to UV rays, a UV protection layer can help preserve the hull’s finish and structural integrity.
So, while you might not experience the speed boost you were hoping for after waxing your plastic-hulled kayak, the additional protection may still be worth it.
Now, I’m assuming you know that polyethylene and PVC aren’t the only materials used for kayak construction – which brings me to my next point:
Hulls made of composite materials – think Carbon fiber, fiberglass, and Kevlar – are where kayak wax makes a real difference and acts as an outstanding hull maintenance tool.
Waxing a composite kayak is recommended as part of the standard kayak clean and protect care routine, as it brings several notable benefits to the table.
I’ll discuss these in a second, but I’d like to tackle another common question regarding kayak maintenance – and a major one, at that – first.
Do You Need To Clean Your Kayak?
Sure, protecting your kayak’s hull with marine-grade wax and UV protectant spray is crucial, but let’s not skip steps here. Cleaning your kayak with mild soap and water when needed – and at the very least, rinsing it after every use – is every bit as necessary.
You can wax that ‘yak of yours all you want and slather it in “sunscreen” all you want, but if you fail to keep up with basic kayak care rules, it won’t matter much. So don’t skip the ‘clean’ part of clean and protect!
Seriously, though, getting rid of dirt and grime is half the battle when it comes to prolonging the kayak’s lifespan and keeping it in tip-top shape.
Whether you go for a quick after-paddling rinse or full-on cleaning, make sure that it’s completely dry before you move it to storage. Mold and mildew are never fun – especially when forming on the kayak’s hull or inside the cockpit.
So, yes, you do need to clean your kayak – inflatable, polyethylene, composite kayak, or otherwise – and more frequently than most paddlers assume, too. It’s also especially important to clean your ‘yak with a mild soap and water solution if kayaking in salt water.
It doesn’t take much, but it makes a world of difference in the boat’s overall appearance. And who doesn’t like the feeling of taking a well-kept, clean kayak out on the water?
We cover the steps in how to clean a kayak in our guide below.
3 Critical Benefits Of Waxing A Kayak (Especially A Composite Kayak)
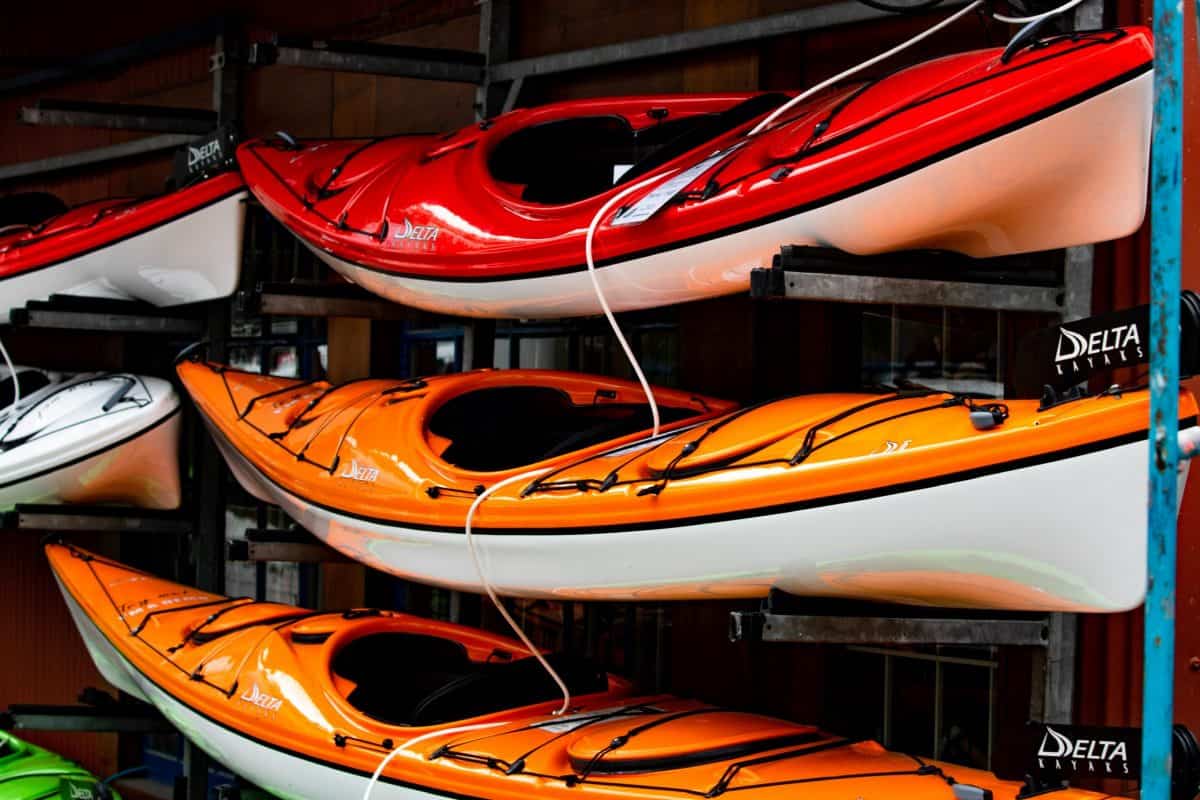
We’ve already established that it’s best to use kayak wax on a composite kayak.
But why should you bother waxing a kayak in the first place?
Well, the most straightforward answer would be that it adds an extra layer of protection to the kayak’s hull.
However, the benefits of using kayak wax on a composite kayak run a bit deeper than that. I can give you at least four good reasons why you should wax your kayak the next time you clean it:
- Improving a composite hull’s durability and longevity
- Protecting the composite kayak from harmful UV rays
- As as a protectant, for composite hulls, against dents and scratches
- Enhancing the shine and color of a composite hull, especially if your kayak is painted
Another talked-about “benefit” of waxing a kayak that deserves special mention here is the increase in speed.

You’ve probably heard all about this performance-boosting property of kayak wax:
Waxing as part of regular kayak maintenance keeps the hull’s surface smooth, which, in turn, helps the kayak glide through the water more efficiently – and enhances its speed.
Now, I won’t dismiss this as a rumor that got out of hand. However, the reality is that the increase in speed – if there is any – will be negligible.
Waxing a kayak is done as a means of protecting the hull more than anything else. You’ll have to work on your paddling technique if you want that speed boost.
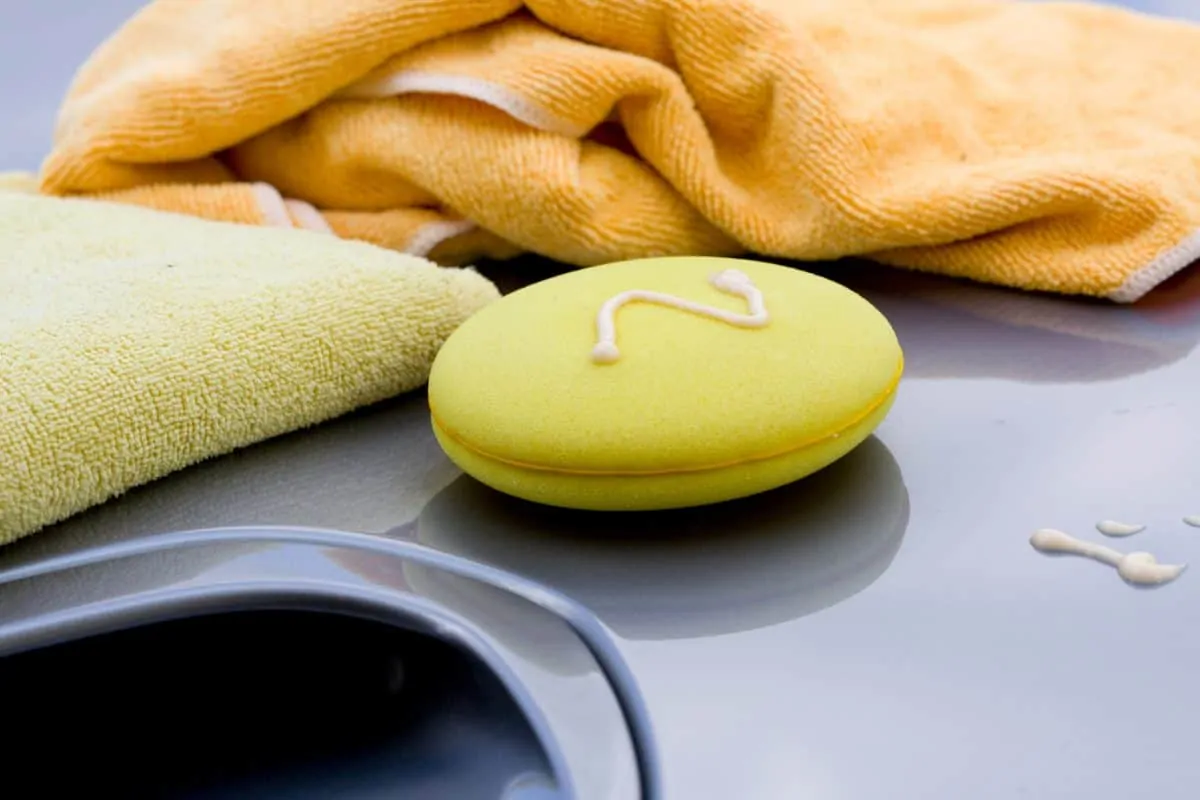
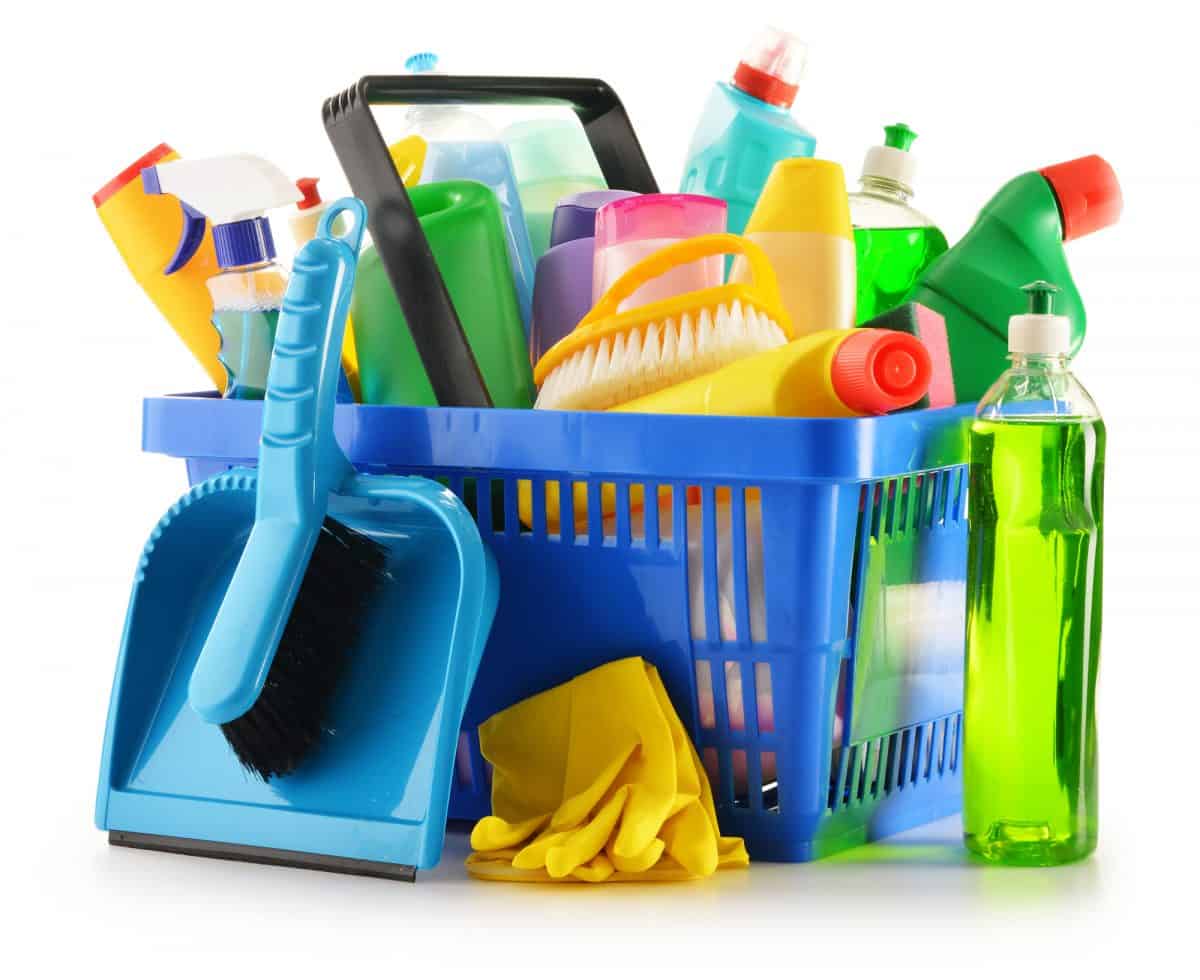
What You’ll Need To Wax A Kayak: Essential Supplies For Cleaning & Waxing
So, there you have it – using kayak wax certainly has its benefits, mainly when applied on composite vessels. I’m hoping everything we discussed so far was enough to get you sold on the idea of making waxing a part of seasonal kayak maintenance, clean and protect regime.
That said, it’s time to gather all the essentials, prepare for the task at hand, and get down to business.
On that note, here’s a list of supplies you’ll need if you plan on waxing a kayak:
- Two microfiber cloths
- A sponge
- A bucket
- A water hose (garden hose) and fresh water supply
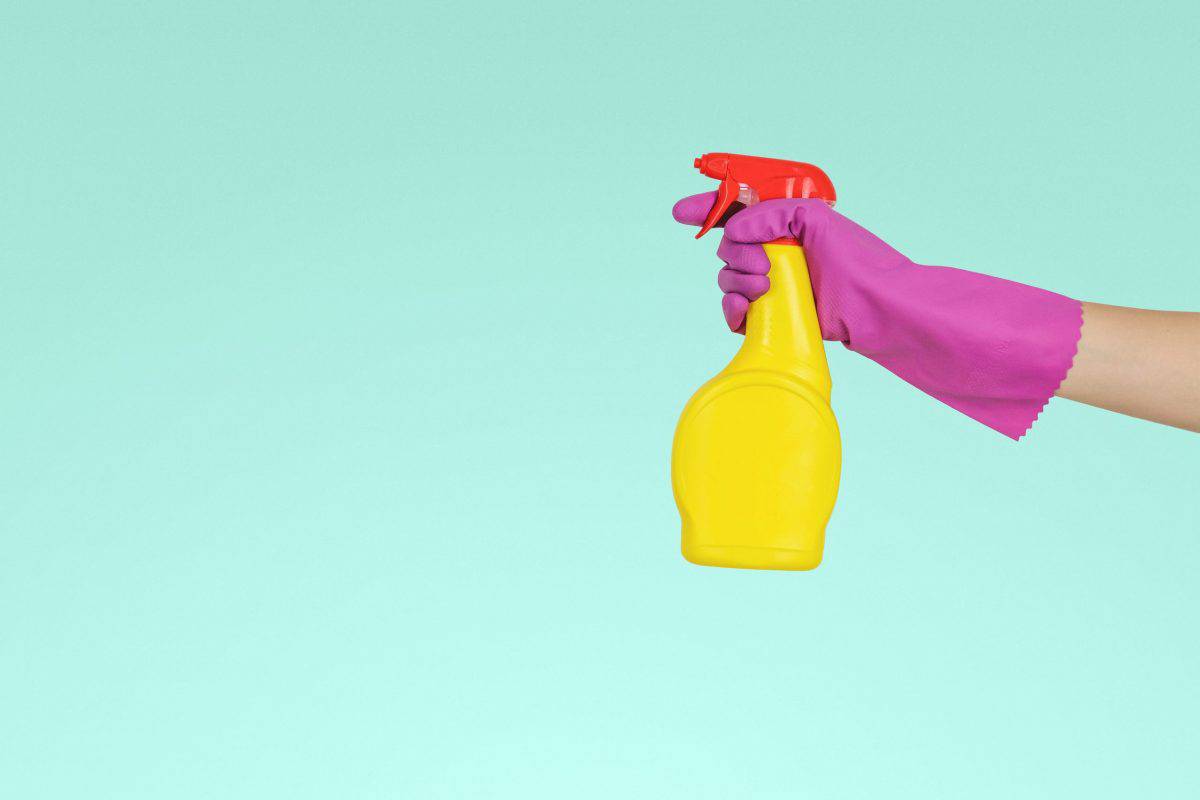
- All-purpose mild soap or boat wash (kayak cleaner)
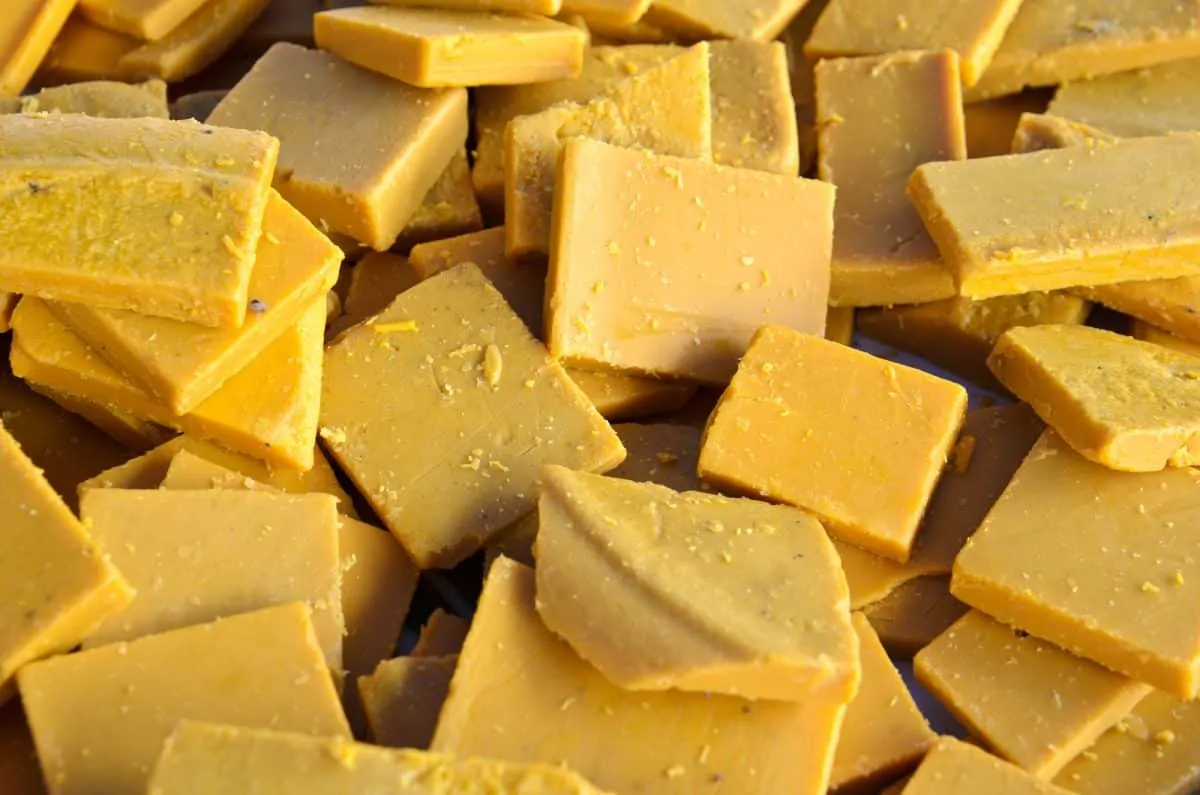
- Marine wax (Make sure that it’s suitable for use on composite kayaks.)
- UV protectant (The 303 Products Aerospace Protectant is a highly recommended option that pretty much acts as a sunscreen for your kayak.)
Again, if your kayak’s hull is made of plastic, you’ll likely get by without marine wax – polyethylene and wax don’t mix well. And while you can afford to skip kayak wax, a UV protectant spray is a must-have:
UV rays can – and will – do a number on your kayak. Adding a layer of UV resistance can help maintain and protect your kayak’s shine, prevent color fading, and minimize the slow but steady hull degradation fueled by repeated sun exposure.

Composite kayaks are a different story and will benefit from using marine-grade wax, followed by a layer of UV protectant spray. Generally speaking, you should use both for the best possible results and maximum level of protection.
Now, can you guess which part of your kayak maintenance routine should remain the same regardless of the hull’s construction?
That’s right; the process of cleaning your kayak.
Granted, an all-out mild soap-and-water clean after each paddling session might be overkill. A simple rinse with clean water is more than enough for daily use. However, it would be best if you got in the habit of giving your ‘yak a thorough cleaning a few times a year, especially when preparing for long-term storage. It’s the key to long term kayak protection.
Now that that’s settled, are you ready to learn how to wax a kayak?
Let’s get to it!
How To Wax A Kayak: A Step-By-Step Kayak Waxing Guide
Step #1: Give Your Kayak A Rinse

Your kayak served you well all summer long and will hopefully continue to do so for years to come. So, some well-deserved kayak care and maintenance are in order – and it all starts with a thorough rinse:
Set it up on the lawn, I place mine on two trestles or saw horses, grab the garden hose, and give it a good rinse, much like you would hose your car down after an off-roading trip.
The goal is to loosen up any dirt and grime build up – mud, sand, salt, and whatnot – and rinse as much of it off as possible before you move on to the next step.
Step #2: Grab The Mild Soap & Bucket
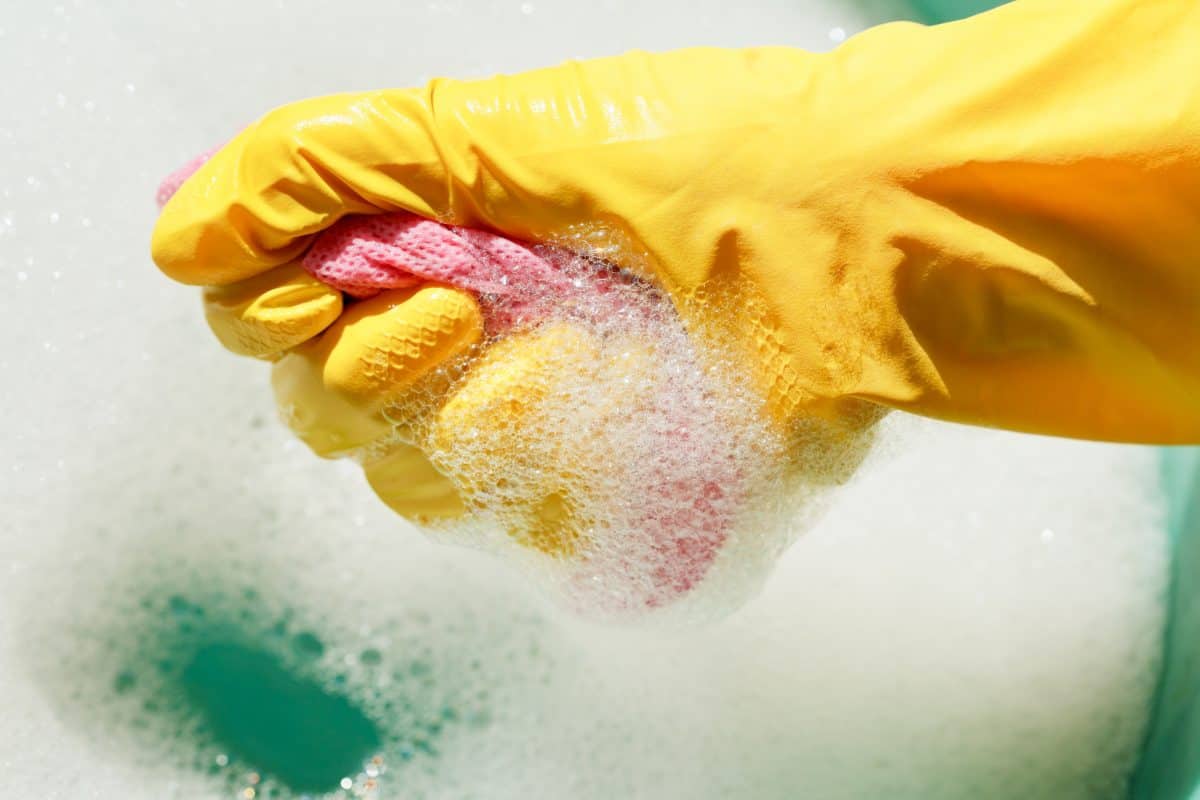
A quick rinse with fresh water is generally recommended after every paddling session for keeping the hull clean and functioning. You’ll be taking it a step further here, though – so, grab that bucket and let’s get to it.
Fill the bucket with clean water. Then, get your all-purpose mild soap – or boat wash – of choice and pour some into the water.
If you opted to use a specialized boat wash product, follow the instructions on the back of the bottle. The label will likely contain information regarding how much to use to get the right mixture.
Step #3: Wash Your Kayak
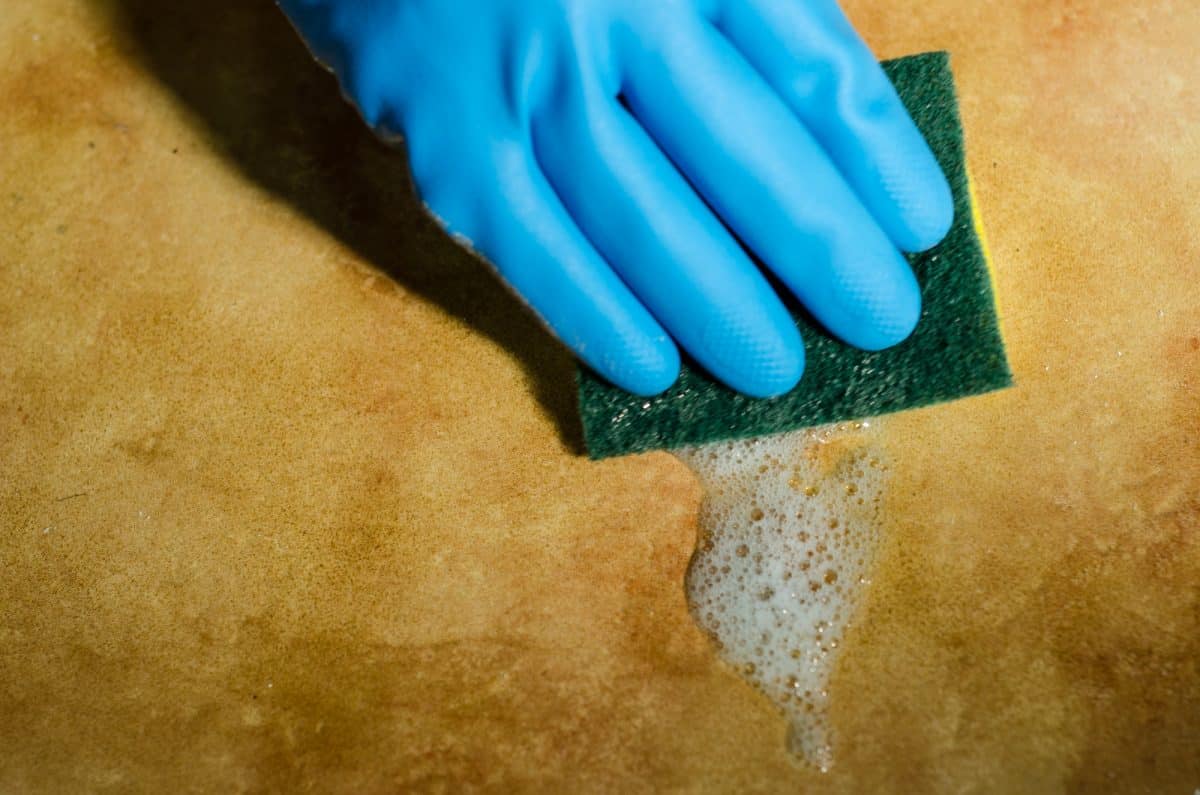
Now that you have your mild soap and water mix ready, it’s time to whip out that sponge and thoroughly clean your kayak. The initial rinse should’ve got most of the dirt out, but there’s likely some residue left that might not be as visible at a glance.
That’s where a more thorough, mild soap-and-water wash comes in:
Dip the sponge into the soapy mixture you’ve just made and get to work. Be sure to wash both sides of your kayak, top to bottom, and get into all the nooks and crannies. If there are any particularly grimy spots and stubborn marks on the hull, go over them with the sponge a few times until they’re gone.
Step #4: Rinse The Kayak With Clean Water

Once you’re done washing the hull with the mild soap solution and getting all the dirt out, grab the garden hose again and rinse the cleaning solution off with fresh clean water.
You want the rinse to be as thorough as the cleaning process to avoid any soap and suds residue on the hull. So, go over each area of the kayak systematically – more than once if needed. Keep at it until you’re sure that it’s wholly rinsed and that there’s no mild soap left on the hull’s surface.
Step #5: Let It Dry
Now that your kayak’s rinsed spotless, it’s time to play the waiting game and give your kayak enough time to dry. Your kayak must be drained and completely dry inside and out before you move on to the next step.
You can always let it air dry – but only if you’re not in a hurry, as this approach usually takes some time. If you’re pressed for time and hope to get everything done as soon as possible, speed up the drying process by wiping the hull down with a towel or dry cloth.
Again, if your kayak has a plastic hull, kayak wax won’t do much for it. So, you’re free to skip the following few steps – all focused on how to wax a kayak – and go straight to applying the UV protectant spray.
If not, keep reading!
Step #6: Time To Wax Your Kayak

It’s time to channel the teachings of Mr Miyagi, and Kayak Wax On and Kayak Wax Off.
All joking aside. Finally, we got to why you’re here – waxing your kayak. You’re going to need a microfiber cloth you prepared earlier for this step, as you’ll be using it to apply the wax.
Depending on the formulation and manufacturer’s instructions, you can spread it directly to the kayak using the cloth. Apply a small amount of wax, and using the cloth, start working it across the hull’s surface in gentle, circular motions.
If you opted for spray-on marine-grade wax, spray down the kayak before using the microfiber cloth to rub it on in a thin, even layer.
Oh, and here’s a bonus tip:
The microfiber cloth should be slightly damp to prevent it from absorbing too much wax. Plus, it’s much easier to spread the kayak wax evenly that way.
Step #7: Allow The Kayak Wax To Dry

Once you’ve worked your way around the entire hull, leave the kayak wax to dry – which, by the way, shouldn’t take too long.
It’s likely that the areas you covered first have dried already by the time you’re done waxing the whole kayak. Most products make it super easy to tell that they’re all dried out by forming a hazy layer on your kayak’s hull. You can also check how things are going by feeling the wax.
Either way, it’s important that the wax has dried before you move on to the next step.
Step #8: Polishing It Off
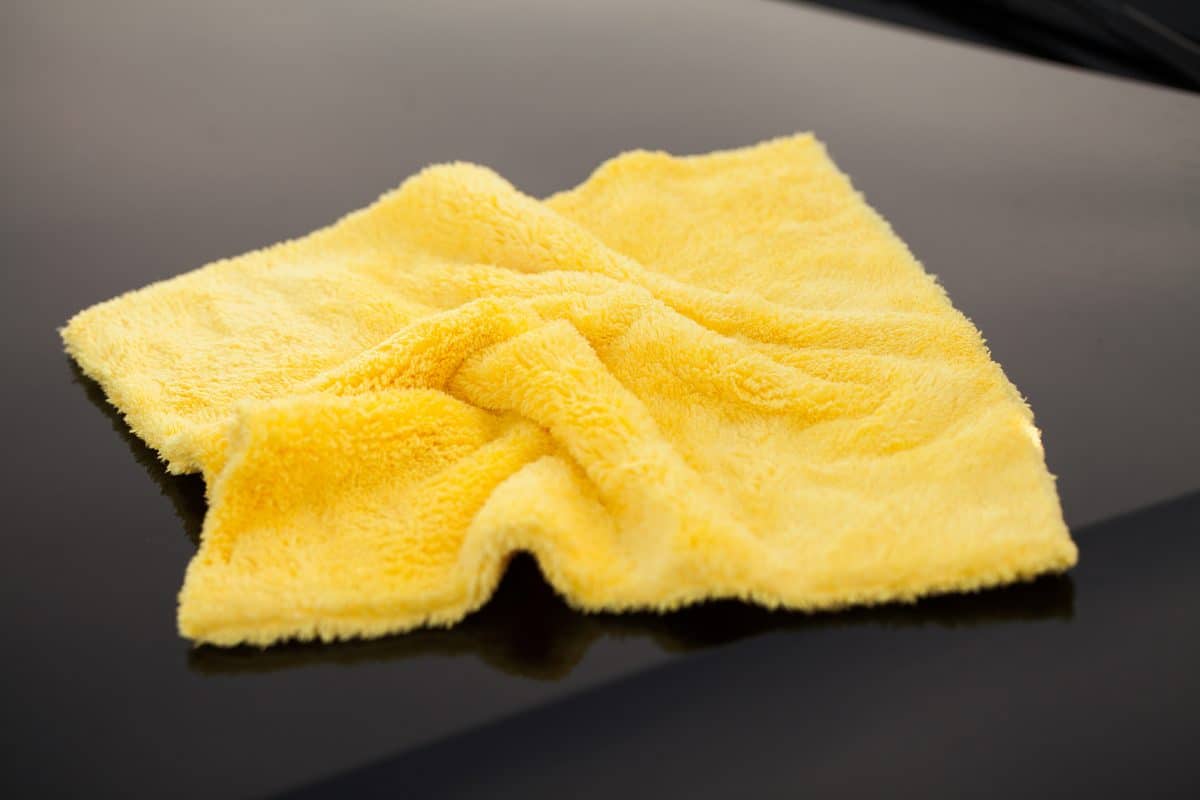
Once you’ve ensured that the kayak wax has dried thoroughly, grab a clean microfiber cloth – I told you that you’d need two for the job – and start polishing the hull.
You can apply more pressure this time around but stick with small, circular motions as you go over the dried kayak wax. Granted, buffing the wax can be a painstaking process depending on the size of your kayak, but the results are worth it:
Your freshly polished kayak will be left with a smooth and shiny finish, popping colors, and a hull that appears brighter overall.
Just be mindful not to overdo the amount of wax or apply too much force – the object is to leave a thin layer on the kayak and you also don’t want to damage anything.
Step #9: Apply Your UV Protectant Spray Of Choice
Whether you have a plastic-hulled kayak and skipped straight to this point or went through waxing the kayak, you’ve made it to the final step:
The finishing touch to any kayak maintenance routine – with or without kayak wax – is giving the kayak’s hull an extra layer of protection UV.
Again, I recommend the 303 Products Aerospace Protectant, but you can go with any other UV plastic protectant spray.
Apply it all over the hull, mop up any excess product off, and then go ahead and buff it with a cloth to ensure it dries properly.
Once the UV-protectant layer is set, you’re ready to hit the water – or storage, depending on what you have planned for your kayak.
Top tip – If you’re going to store your kayak, make sure to cover it with a waterproof kayak cover. It will protect your boat from the weather and prevent animals from nesting in it.
How To Wax A Kayak: Summing It Up
Whether your goal is to enhance your kayak’s appearance or add a much-needed layer of protection to boost the hull’s durability, using kayak wax is the way to go.
And sure, waxing a kayak can be a time-consuming process – but much like general kayak care and maintenance, it’s well worth it in the long run. You must take good care of your ‘yak if you hope to keep it in top shape for years to come.
Again, unlike composite kayaks, plastic-hulled vessels don’t require waxing. However, cleaning and applying UV protectant is still very much recommended.
No, scratch that – it’s mandatory.
On that note, I hope my how-to-wax-a-kayak guide makes the entire process easier and helps you prolong your kayak’s lifespan – composite or otherwise.